
Introduction
Nail pops in sheetrock are an annoying but common problem for homeowners. These small bumps or holes appear when nails or screws used in drywall installation come loose over time. Fixing them might seem intimidating, but with the right tools and know-how, you can handle it like a pro. Let’s dive into the details of how to fix nail pops in sheetrock, step by step.
Causes of Nail Pops in Sheetrock
Natural Settling of the House
As homes settle over time, the movement can cause nails in the drywall to loosen and pop out. This is especially common in newer homes.
Poor Installation Practices
Improperly driven nails or screws that aren’t secured into studs are more likely to cause nail pops later.
Seasonal Temperature Changes
Fluctuations in temperature and humidity can cause the drywall and framing materials to expand and contract, leading to nail pops.
Tools and Materials You’ll Need
Essential Tools
- Hammer or nail puller
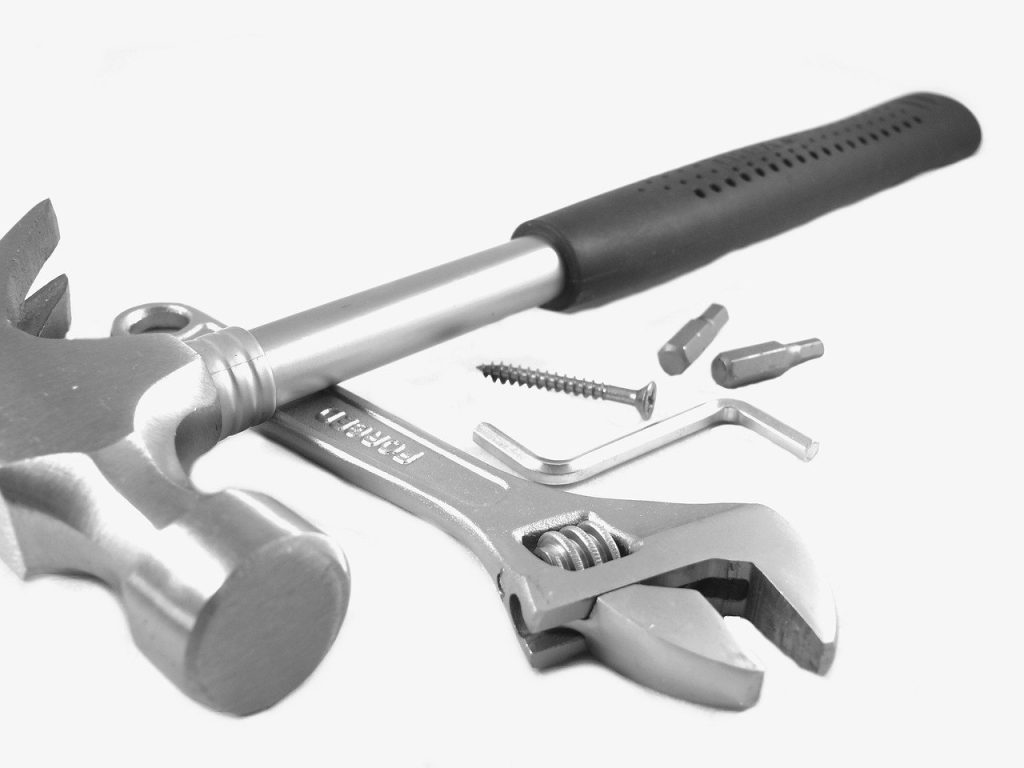
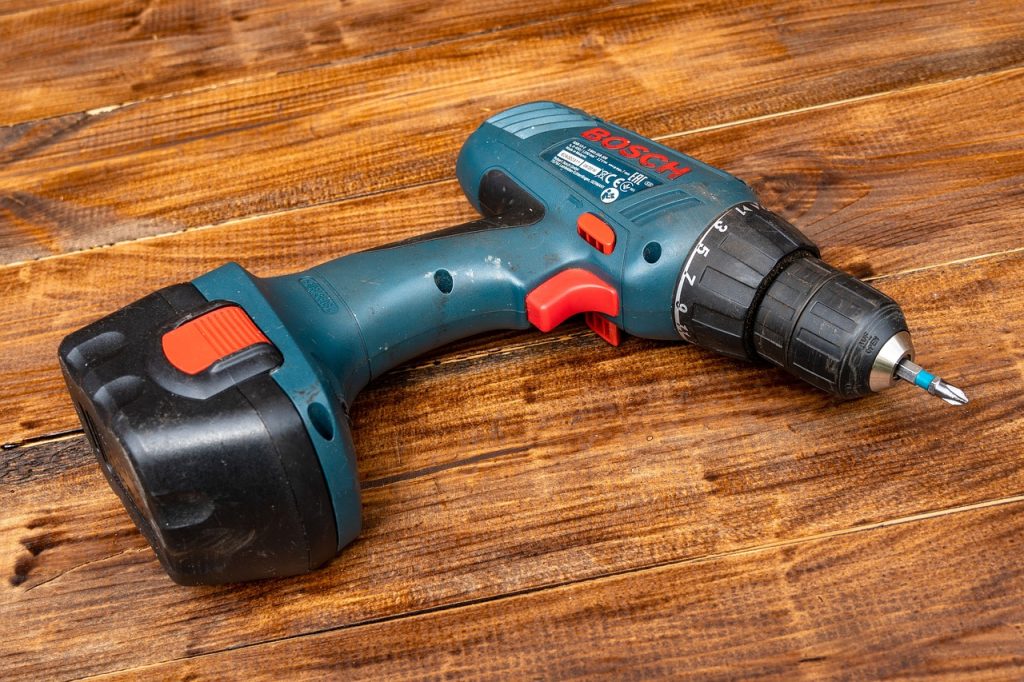
- Screwdriver or drill
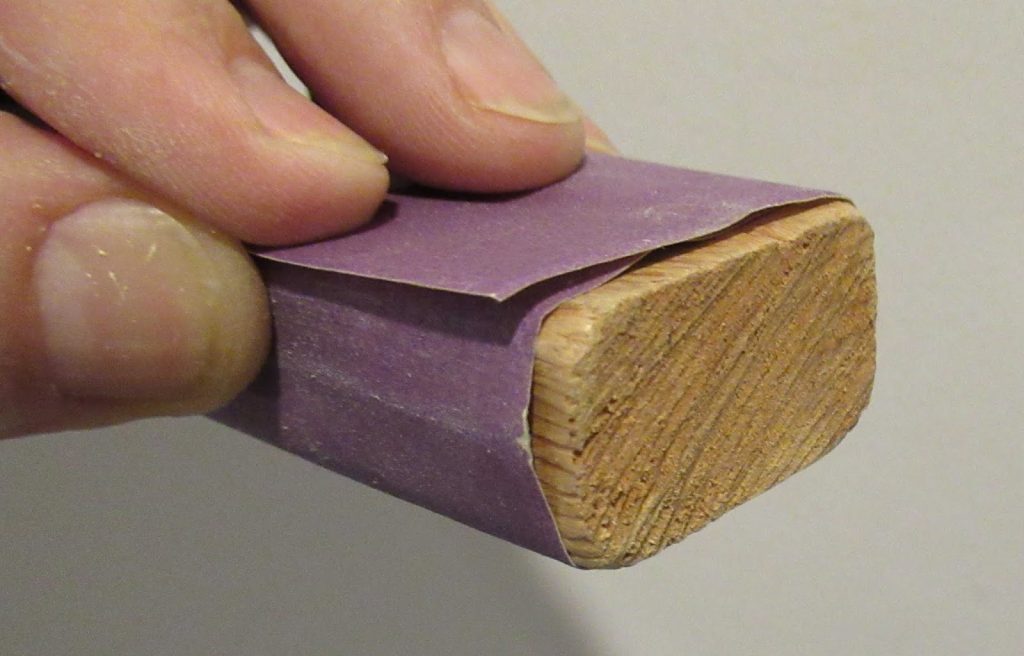
- Sanding block or sandpaper
Recommended Materials
- Drywall screws
- Joint compound
- Drywall tape
Optional Items for Better Finishing
- Paint and primer
- Putty knife
- Texture sponge for blending
Preparing for the Fix
Assessing the Damage
Look closely at the areas with nail pops to determine the extent of the issue. Are there multiple nail pops in one area?
Safety Precautions
Wear safety goggles to protect your eyes from dust and debris. Keep the area well-ventilated if you’re using joint compound.
Gathering Your Supplies
Make sure you have all the tools and materials ready before starting. This will save time and reduce frustration during the process.
Step-by-Step Process to Fix Nail Pops
Step 1: Locate the Problem Areas
Inspect your walls to find visible nail pops. Mark them with a pencil for easy identification.
Step 2: Remove the Loose Nails
Use a hammer or nail puller to gently remove any loose nails. Be careful not to damage the surrounding drywall.
Step 3: Refasten with Screws
Drive drywall screws into the stud about 1-2 inches above or below the original nail hole. This provides better support.
Step 4: Cover the Hole with Joint Compound
Apply a thin layer of joint compound over the nail hole using a putty knife. Ensure it’s smooth and even.
Step 5: Sand and Smooth the Surface
Once the compound is dry, sand the area lightly until it’s smooth and flush with the wall.
Step 6: Prime and Repaint the Area
Apply primer and repaint the repaired area to match the rest of the wall.
Tips for a Professional Finish
Using the Right Joint Compound
Choose a lightweight joint compound for easier application and faster drying.
Avoiding Common Mistakes
Don’t over-sand the area, as this can create dips or unevenness.
Matching Paint Colors Perfectly
Use leftover paint or take a small sample to a paint store for an exact color match.
Preventing Nail Pops in the Future
Use Screws Instead of Nails
Drywall screws hold better and are less likely to loosen over time.
Regular Home Maintenance
Inspect your walls periodically and address any minor issues before they escalate.
Control Indoor Humidity Levels
Use a dehumidifier to prevent excessive moisture that can weaken drywall.
When to Call a Professional
Signs of Structural Issues
If nail pops are accompanied by cracks or sagging walls, consult a professional.
Persistent Nail Pops
Repeated nail pops in the same area may indicate a deeper issue.
Extensive Repairs Needed
Large-scale damage may require the expertise of a drywall contractor.

Discussion about this post