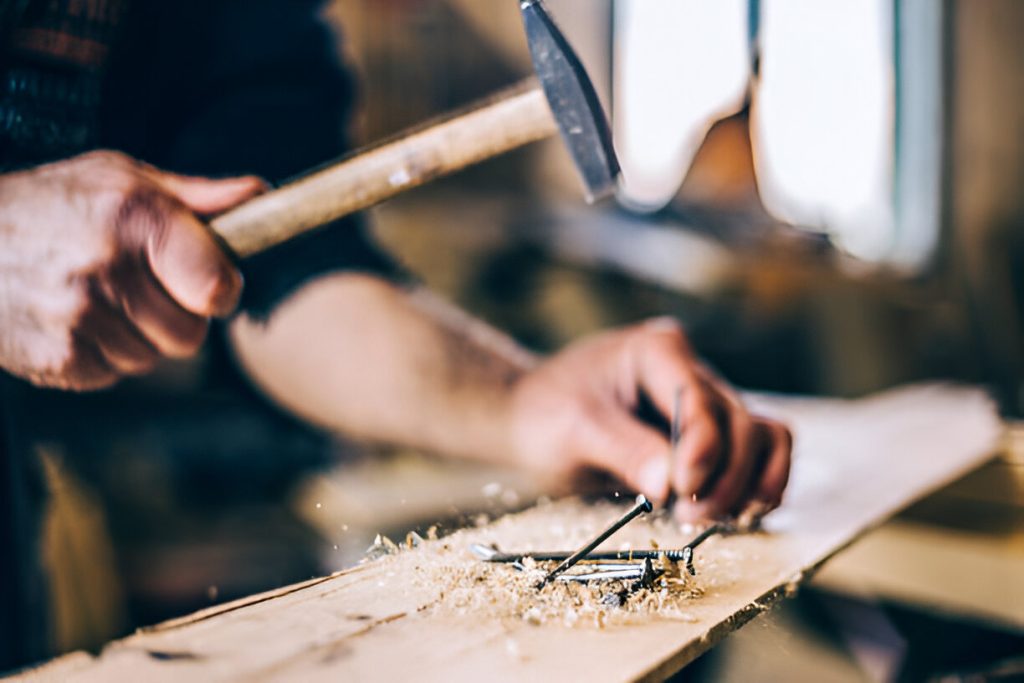
Hammer and nails are fundamental tools in construction and craftsmanship. These essential tools have stood the test of time, evolving into various designs to cater to specific tasks. Whether you’re building furniture, repairing a roof, or crafting art, understanding hammer and nail designs will help you work more efficiently. In this comprehensive guide, we’ll explore their types, designs, and practical uses.

Why Hammer and Nails Are Essential Tools
Hammer and nails have been indispensable for centuries due to their versatility and simplicity. Together, they form a reliable duo for construction, carpentry, and DIY projects.
- Ease of Use: With minimal training, anyone can use them effectively.
- Durability: High-quality hammers and nails last for years, even with frequent use.
- Versatility: They can handle everything from heavy-duty construction to delicate woodworking.
Different Types of Hammers and Their Designs
1. Claw Hammer
A claw hammer is the most common tool for driving and removing nails. Its curved claw provides excellent leverage for extracting nails, while the flat face ensures a clean strike.
- Best For: General construction, woodworking, and repairs.
- Design Feature: A comfortable grip and balanced weight for precision.
2. Ball Peen Hammer
Typically used in metalworking, the ball peen hammer has a rounded end opposite the flat striking surface. This design makes it ideal for shaping metal and closing rivets.
- Best For: Metalworking and engineering tasks.
- Design Feature: Durable steel head for heavy-duty work.
3. Sledgehammer
The sledgehammer is designed for heavy demolition work. Its long handle and large head allow for maximum force during impact.
- Best For: Breaking concrete, driving stakes, and heavy-duty tasks.
- Design Feature: Double-faced head for consistent performance.
4. Dead Blow Hammer
This specialized hammer minimizes rebound with its hollow head filled with sand or steel shot. It is ideal for delivering controlled force without damaging surfaces.
- Best For: Precision work like assembling furniture.
- Design Feature: Non-marring surface for delicate materials.
Variety of Nails and Their Unique Features
1. Common Nails
These nails are sturdy and thick, making them suitable for heavy-duty construction. Their flat heads ensure secure attachment.
- Best For: Framing and structural work.
- Feature: Durable shank for strength.
2. Finishing Nails
Finishing nails have small heads, allowing them to be driven flush or below the surface. They are perfect for projects where aesthetics matter.
- Best For: Furniture, trim, and molding.
- Feature: Smooth finish for a polished look.
3. Roofing Nails
With wide heads and short shanks, roofing nails are designed to secure shingles and other roofing materials.
- Best For: Roof installation and repairs.
- Feature: Galvanized coating for rust resistance.
4. Brad Nails
These thin, small nails are ideal for delicate work where splitting the material is a concern. Brad nails are commonly used with nail guns for efficiency.
- Best For: Small woodworking projects and paneling.
- Feature: Almost invisible after insertion.
How to Choose the Right Hammer and Nails for Your Project

1. Understand the Task
For heavy-duty tasks like breaking concrete, a sledgehammer and common nails are ideal. For precision work, a finishing hammer paired with finishing nails is a better option.
2. Check Material Compatibility
Different materials require specific tools. For example, galvanized nails work well for outdoor projects to prevent rust.
3. Prioritize Comfort
Select a hammer with an ergonomic handle to reduce strain during extended use. Additionally, the weight should feel balanced in your hand.
Design Considerations for Hammers and Nails
Hammers and nails come in various designs to meet specific requirements. Let’s break down the key design features:
- Hammer Design
- Head Shape: Determines the tool’s purpose (flat for striking, curved for prying).
- Handle Material: Wood offers a traditional feel, while fiberglass and steel provide durability.
- Nail Design
- Head Type: Flat heads are visible, while countersunk heads blend into the material.
- Shank Type: Smooth shanks are easy to insert, while spiral shanks provide better grip.
Tips for Using Hammer and Nails Effectively
- Strike Precisely: Aim for the center of the nail head to prevent bending.
- Choose the Right Angle: Hold the nail at a 90-degree angle for secure attachment.
- Use a Nail Set: For finishing nails, use a nail set to drive the head below the surface.
Safety Tips When Working with Hammer and Nails
- Wear Safety Gear: Always wear gloves and safety goggles to protect your hands and eyes.
- Inspect Tools: Check for cracks in the hammer handle and rust on nails before use.
- Use the Right Size: Avoid using undersized nails for heavy projects, as they may fail under pressure.
FAQs About Hammer and Nails
1. What is the best hammer for beginners?
A claw hammer is versatile and easy to use, making it ideal for beginners.
2. How do I prevent nails from bending?
Hold the hammer firmly and strike the nail head squarely to avoid bending.
3. What type of nails should I use for outdoor projects?
Galvanized or stainless-steel nails are best for outdoor use, as they resist rust.
4. Can I use a hammer on concrete nails?
Yes, but you’ll need a heavy-duty hammer like a sledgehammer or masonry hammer for concrete nails.
5. How do I remove a bent nail?
Use the claw end of a hammer for easy removal. Position the claw under the nail head and apply leverage.
6. Are there eco-friendly nails?
Yes, some manufacturers offer recyclable and sustainable nail options.


Discussion about this post